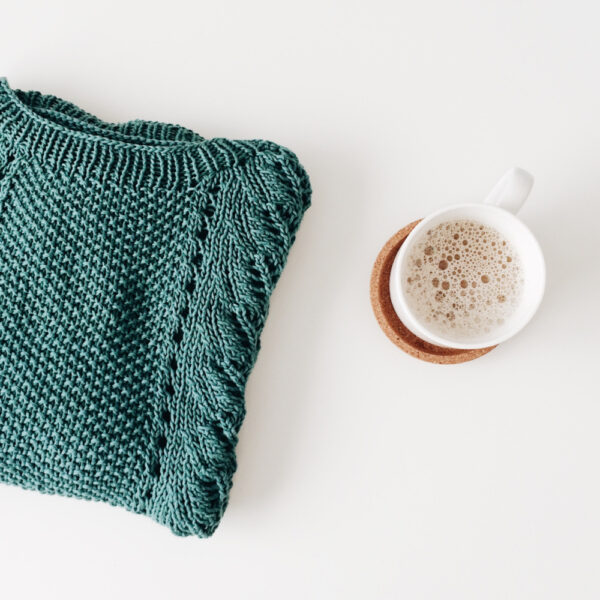
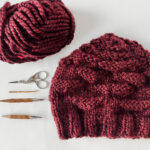
Looking for an interesting, fun and easy beginner hat pattern? Look no more than the Slouchy Hat Pattern! You’ll learn everything you need to know about knitting through this pattern – yes, seriously! Fun fact: knitting is only 2 stitch…
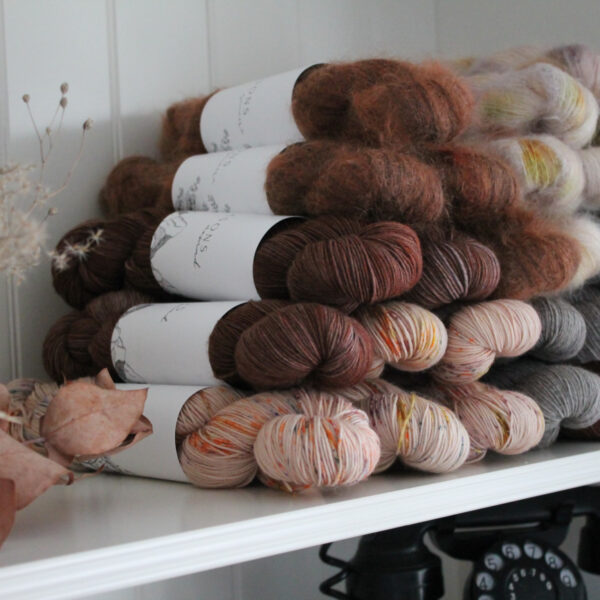
Knitwear for the Heart and Home
Looking for an interesting, fun and easy beginner hat pattern? Look no more than the Slouchy Hat Pattern! You’ll learn everything you need to know about knitting through this pattern – yes, seriously! Fun fact: knitting is only 2 stitch…
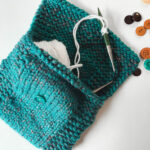
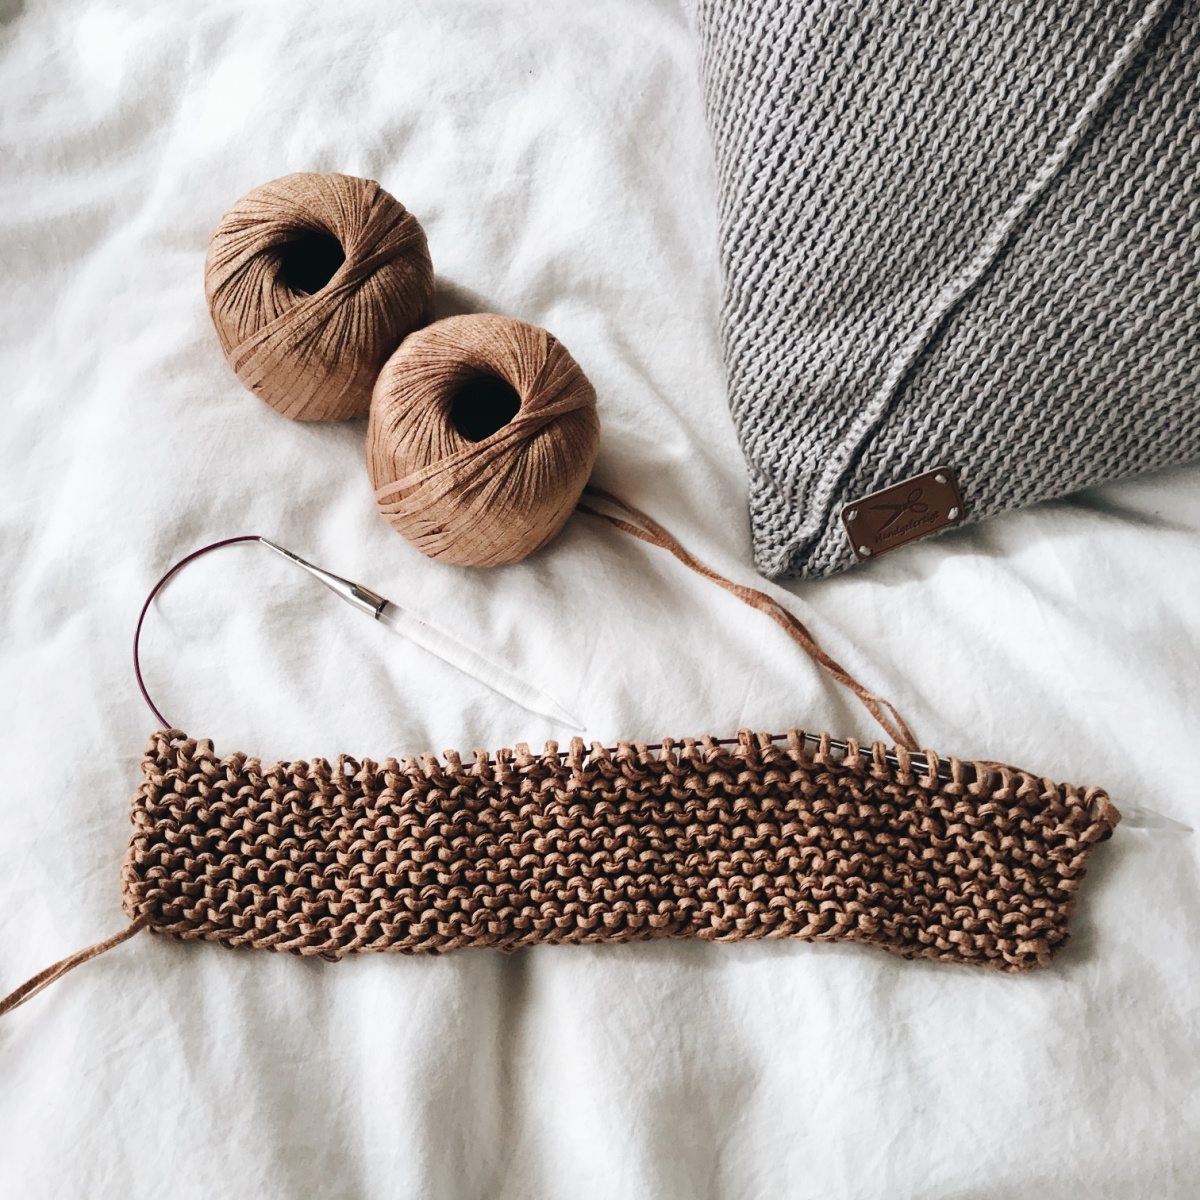
Become a knitter by learning how to knit a simple project pouch! This beginner-friendly pattern will teach you the essentials of knitting. It’s free and simple to follow. Best of all, you’ll have a cute little bag to store your…
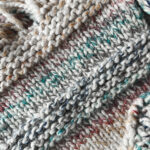
Fun fact: knitting is, quite literally, only two types of stitches – a knit and a purl. To learn how to knit, you only need to learn the difference between a knit and purl. This is good news for new…
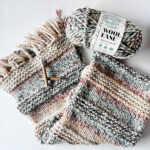
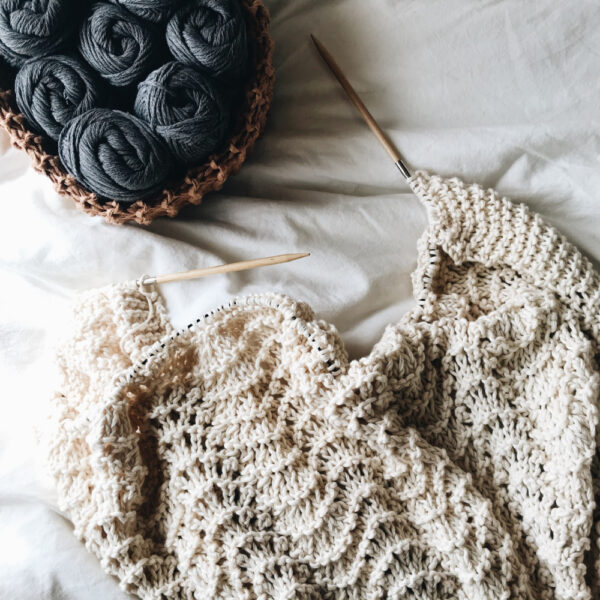
Calling all beginner knitters! This beginner scarf pattern will teach you the essentials of knitting. It’s free and simple to follow. Yes, seriously! Fun fact: knitting is only 2 stitch types – the knit stitch and the purl stitch. Mastering…
Copyright © 2024 Charmingly Modern · Theme by 17th Avenue